How to make Homemade Natural Bath Bombs | DIY Recipes
Considering a refreshing bath after a long tiring day at work is certainly the best way to de-stress or relax. While a plethora of bubbles and aromatic candles can be a perfect addition to soothe and unwind, a more colorful option can be the bath bombs.
Anyone in teens can probably relate to the bath bombs craze which was in full swing. Well, if you don’t belong to the category, Bath bombs are hard molded mixtures of natural ingredients when wet.
Adding bath bombs to the bathtub is super exciting and thrilling to watch the colors getting dispersed in the water.
So, in this article, we’ll introduce you to the most spectacular bath bomb recipes with natural ingredients. Keep reading!
[Read more: 25 Lip plumper recipes for Fuller lips]
All-Natural DIY Bath Bombs Recipe
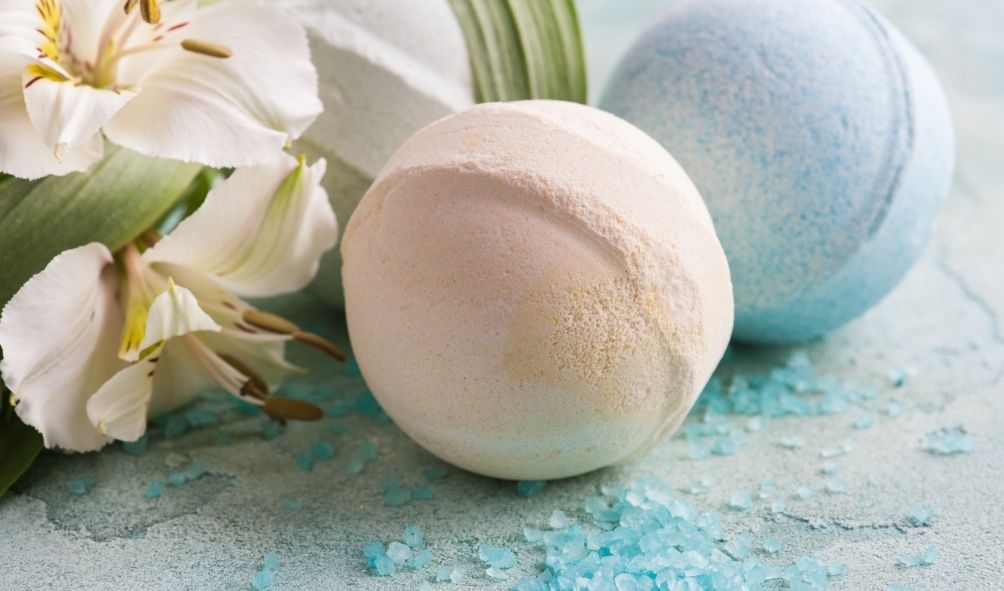
You’ll need:
- Baking soda – 1 cup
- Citric Acid – 1/2 cup
- Corn starch or arrowroot – 1/2 cup
- Epsom salt – 1/2 cup
- Almond Oil – 5 tbsp
- Essential Oils (20 to 30 drops)
- Dried Flower petals of Rose or any of your favorite
Why these Ingredients?
Baking soda is the essential ingredient to the bath bomb because it helps form the fizz and foam that you’ll see as soon as the bomb hits the water
Along with Baking soda, Citric acid also has the same effect when it hits the water
You can add either Cornstarch or Arrowroot because you’ll get a silky smooth feeling when in water. That happens with the texture of these ingredients.
Epsom salt is one of the beautiful ingredients to relieve stress, tension, or soothe muscle aches and also other skin issues like acne. It has therapeutic value and that’s the reason Epsom salt is widely used in bath bombs as an essential ingredient.
Almond oil on the other hand helps to moisturize your skin and prevents skin drying. You can also replace almond oil with any of your favorite oils which keep the skin moisturized and supple.
Essential oils are a great addition to the bath bombs with therapeutic value and also they add an incredible fragrance. You can consider adding a mixture of essential oils such as Rose, Lemon, Patchouli, Lavender, Vanilla, Peppermint, Cedarwood, Rosemary essential oils.
Step by Step Process for making Bath Bombs
Step 1
In a large bowl, add all the ingredients like baking soda, citric acid, Epsom salt, cornstarch, and flower petals. You can also add biodegradable glitter but that’s completely optional. Mix all the dry ingredients thoroughly with the help of a whisk. Don’t let any lumps form in the mixture.
Step 2
Now, similarly, combine all the wet ingredients in a spray bottle along with essential oils and almond oil. Give it a nice shake and check for the fragrance. Add any other ingredients or essential oils as per your fragrance. You can adjust the fragrance between vanilla, coffee, cocoa, cinnamon, lavender, etc. Also, add not more than 4 to 5 drops of any food colors of your choice.
Step 3
Time to blend wet ingredients with the dry ones. Pour the wet ingredients into the dry mixture and blend them slowly. Continue whisking as you spritz the wet ingredients. As you observe the fizz, slow down the process and mix until sand-like consistency is obtained.
Step 4
Once the mixture is all ready, immediately take the molds and press the mixture into them. Now, allow the mixture to dry inside the molds. Leave it for a day before taking them out.
Step 5
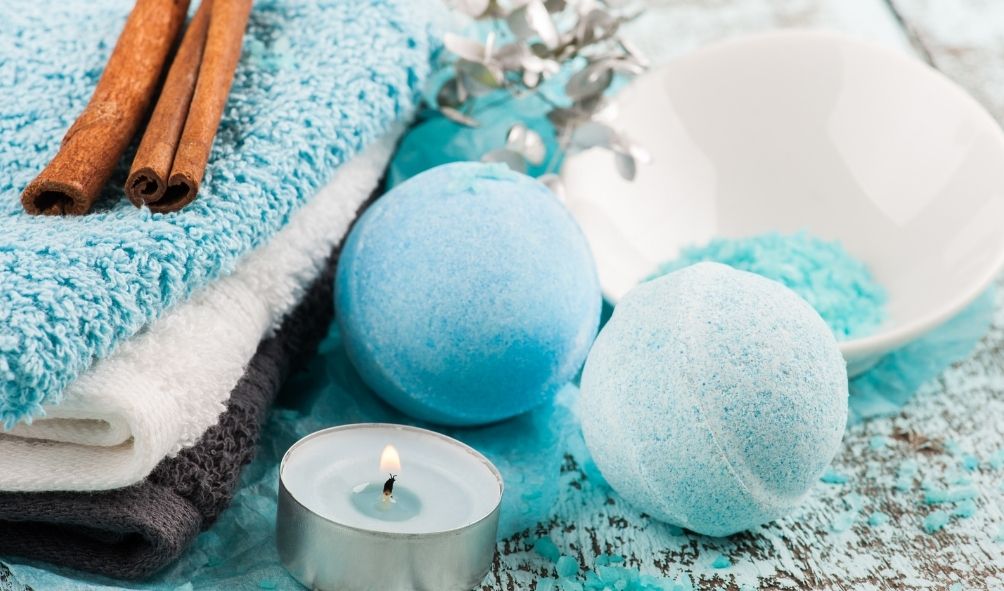
Viola! Your Bath bombs are ready. Before you go for a bath, drop a bath bomb into the water and dwell the moment seeing the explosion of colors and smelling the fragrance.
Up to the very end!
Hope you like this bath bombs recipe. If you’ve any queries please leave a comment below. We’d love to help you.
Up Next: How I got spotless Glowing skin
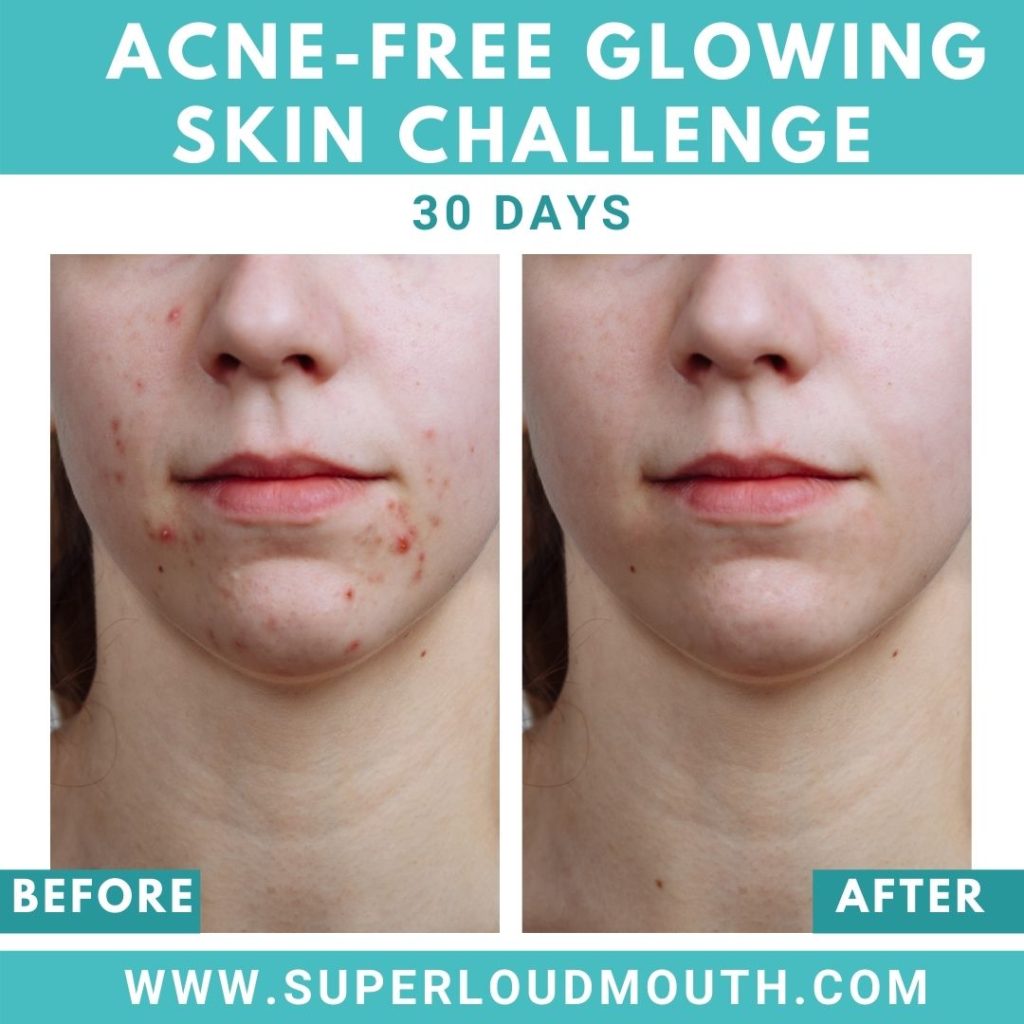
How I got Spotless Glowing Skin in a month
A Science-based Skincare Guide which helps you to get rid of ACNE and get Clear GLOWING SKIN in just 30 days!
- Know your Skin (Solutions to most common questions)
- The 16 Skincare changes that will help you clear out Acne, Scars & Pigmentation
- The Skincare routine and Topical Treatments for Acne, White bumps, & dark spots
- The powerful age-old Ayurvedic DIY clear skin recipes
- You’re what you eat: The Skin cleansing diet for Healthy skin that shows


